Done? Read on.
(keep in mind this text was originally written in 2013. Alterations were made in obvious locations. The games mentioned in this article have also aged nicely)
Back to the future
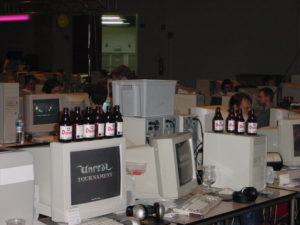
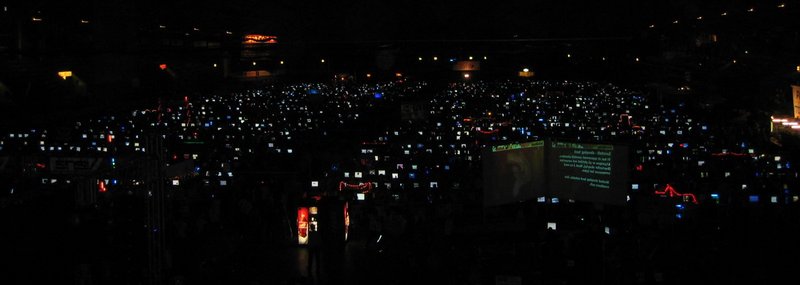
Over the years, the LAN party scene has evolved quite a bit.
The stereotype idea that people have of a bunch of nerds gathering together, talking geek stuff, eating and sleeping behind their computer screen and constantly playing first-person-shooters is already long gone.
The appearance of a high percentage of female gamers into the LAN scene has cranked up the credibility factor and given these events more of a social background.
Of course, not only the appearance of the opposite sex was the only change of direction.
Social media, free games and a bigger variety and subvariety of games have also played a role in this evolution.
To give you a wild example : expect score beating competitions in simple games such as Peggle and Word Feud Banished, Singstar, FTL, … to be played.
Scrabble Scythe and other board games (classic Warhammer Blood Bowl, anyone?) also take part nowadays.
This little guide will prepare you computer-wise for a fun LAN.
The list below is not and never will be complete. You play whatever game you want at a LAN party. Just try to tune in with your friends and co-gamers to see what they’ll be playing mostly, so you can have optimal fun.
I’ll split up the list in free/paying games so you can decide for yourself.
Also : if you don’t have a Steam account, go and create one. There’s tons of free games on Steam nowadays !
FREE :
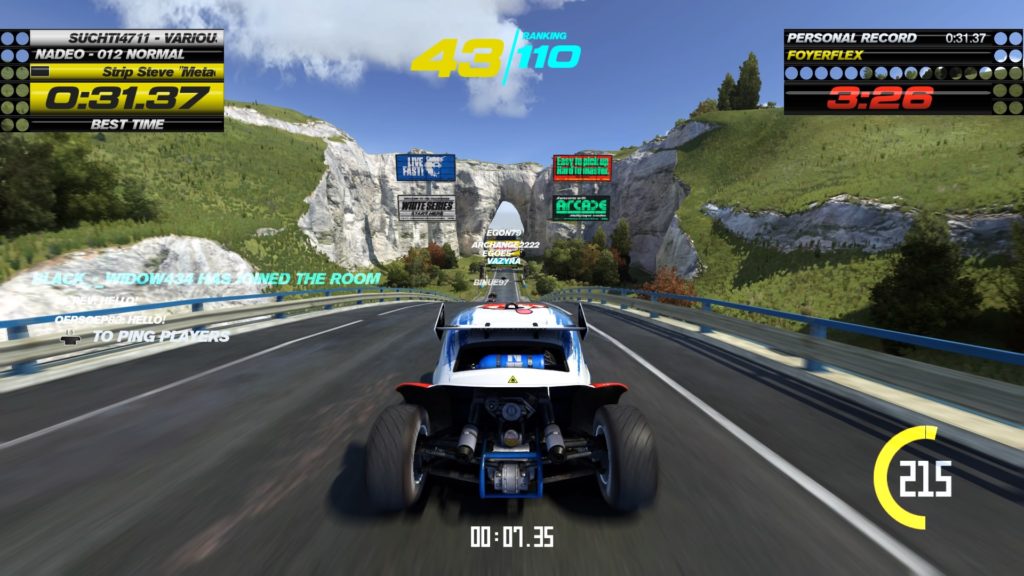
- The Trackmania series (racing – multiplayer)
- War Thunder (flying – multiplayer)
- World of Warships (slow boats – multiplayer)
- JFK Reloaded (banned here and there in the States for obvious reasons – also a score attack game)
- Team Fortress 2 (first free Steam game – super popular first person shooter)
- Stepmania (musical madness – plays best with a dance mat)
- OpenTTD (less played, but still an awesome single/multiplayer game – free version of the original transport Tycoon Deluxe game – still does a great job after years of existance)
- Tetrinet (not-so-licensed-by-Nintendo multiplayer version of the classic ‘Tetris’ brick-dropping game)
PAYING :
- EVE Online (MMORPG – space themed)
- World of Warcraft (MMORPG – fantasy themed)
- Super Hexagon (psychedelic single player score attack game)
- Surgeon Simulator (just plain fun – single player – I cried tears of joy playing this)
- FTL (space ship simulator with a high-score system – single player)
- Minecraft (incredibly fun sandbox game that actually has an ending – single/multiplayer)
- Left4Dead 2 (scary zombie first-person-shooter. Absolutely worth every penny – use headphones and play in the dark)
- Sins of a Solar Empire (old but sturdy real-time-strategy game – single/multiplayer)
- Borderlands 2 (mature themed first-person-shooter-RPG – 4player co-op)
And don’t even get me started on all the LAN classics such as Battlefield, Counter Strike, Unreal Tournament and the Command and Conquer series and derivatives.
Other software
- DC++ (software that makes downloading easy – I can’t stress enough that it’s illegal to share licensed software, and other copyrighted stuff.
DC++ is basically used to easily share your shareable data through means of a searchable index by connecting to a local server. If you plan to use this software, please hash all your shares beforehand as this takes a long time to complete. For more info on hashing, check the DC++ software manual) Stay on the lookout for my DC++ config guide in a nearby future 😉 – let me throw you a Spanish bone first ==> Manual de Direct Connect - A good antivirus solution for your computer (some downloads can and will contain viruses)
As of the coming of Windows 10, there’s the very lovely built-in Windows Defender, holding the fort for you. - Filezilla Client. Want to go old school? Connect to a server using FTP
- MIRC. Want to feel back in the 80s ? Connect to an IRC server for chatting and file sharing purposes 😀
- Other than that : come to a LAN party with the right attitude ! You’re here to have fun and so is everyone else. There’s nothing worse than a whiner ruining the atmosphere for all the other players.
- Oh, and don’t bring a Macintosh… There’s a special place in hell for people who bring a Mac to a LAN party…
Alternative ways to go and much more
Depending on the LAN party, there’s tons of alternative stuff going on besides the default ‘bring-your-PC’ mindset.
- Board games.
Yes, board games are having a revival for a long time now. They can find their place one certain LAN parties, depending on the theme - Game consoles.

Kronenburger park, anyone ? Ever since the early nillies, video game consoles have started to appear on the otherwise PC-filled LAN scene. I personally have helped to push this fact in the fact, so I’m always ravished to be able to mention it at any given time.
It’s not frowned upon to even appear at a LAN party with only your game console? Computers are over-rated 😉
Party games on consoles are a great competitive way of having fun aside from sitting behind the PC. Like I said before, LAN parties are more of a social event than you’d think.
Games like SingStar, Mario Party, Super Smash Bros, … come to mind.
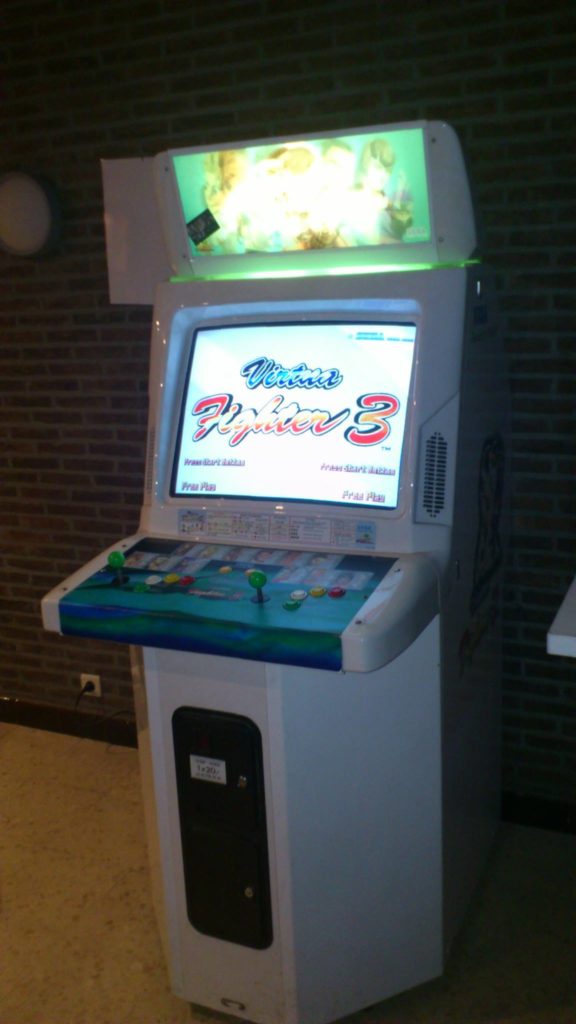
I even recall a certain somebody bringing his own arcade machine *cough* - Rentals.

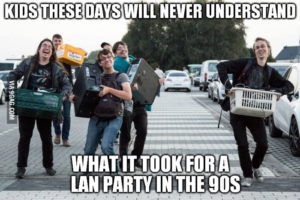
*Winks at Speedseats* No-one likes to drag their heavy computer around or stash their personal desk chair somewhere in the trunk of their car.
Nowadays, it’s possible to rent a computer or even an excellent gaming chair for a very limited amount of money on most bigger events. There’s nothing worse than having to finish your gaming weekend with a soaring back ache.
There’s so much more to tell about LAN parties.
Just visit one (preferrably more) and convince yourself.
*mumbles something about Waasmunster*
 Plan
Plan  Remember our
  More prep !
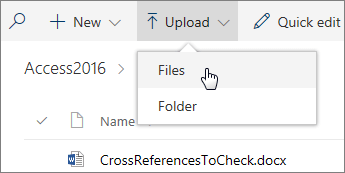

 Introducing “Sharepoint” is always a tricky one.
 I’ll also gladly push away some common misconceptions surrounding Sharepoint and its use, since potential users will start Googling and will eventually find articles that scare them away from this online platform.
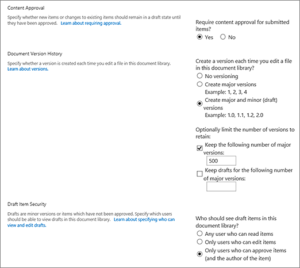
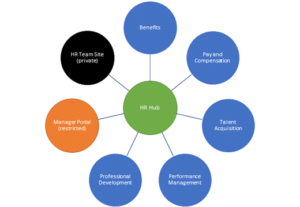
 First of all, keep in mind that Sharepoint is a collaboration platform. The essential part here is that one word : “collaboration“.
 In Sharepoint everything is divided into lists and libraries. Remember my database reference above ? Well, a list or library is nothing more than a database table.
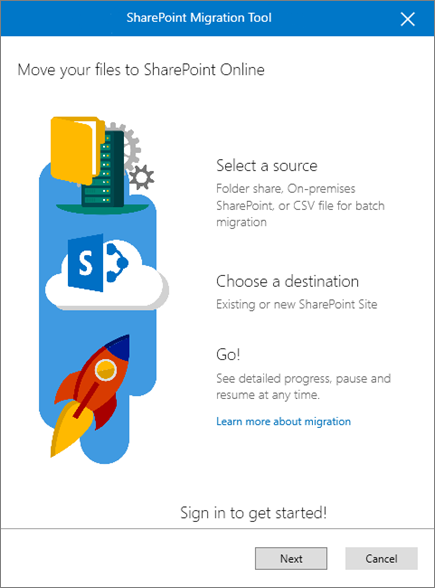
 Should you go over the limit of 5000, the automatic indexing process simply becomes not-so-automatic and will take around 24 hours, depending on the process timing by Microsoft, which is something you yourself cannot change.
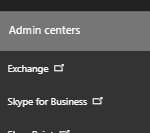 Once inside the Exchange Control Panel, select ‘Public Folders’ in the leftmost menu or on the dashboard.
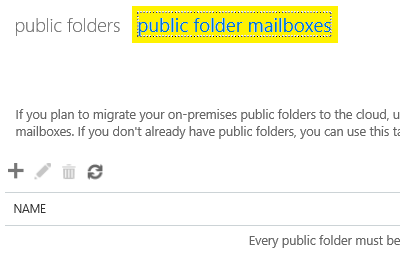
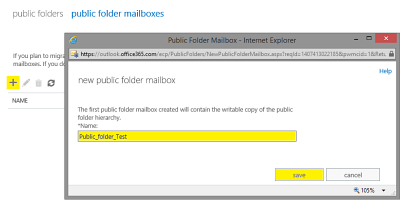 Click the little “Plus” icon and fill out the necessary info.
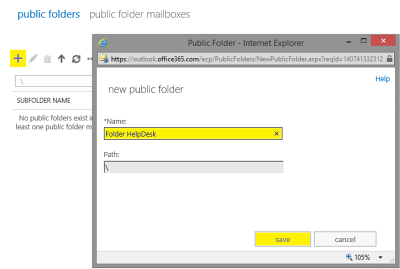 Click the little “Plus” icon in order to start creating your first Public Folder and name it as such.
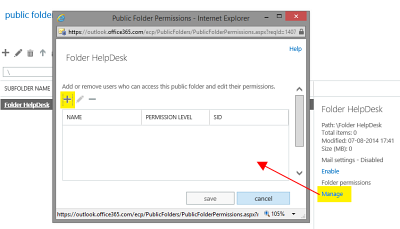 If you’re reading this as the IT guy/girl for a small company, you’re probably screwed and get to do this task yourself.
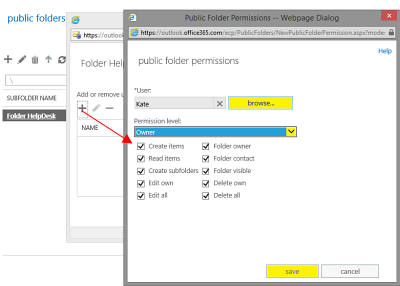 You can choose who you want to allow specific rights to this folder, by clicking the necessary rights ticks or selecting prefab permission levels in the dropdown menu.

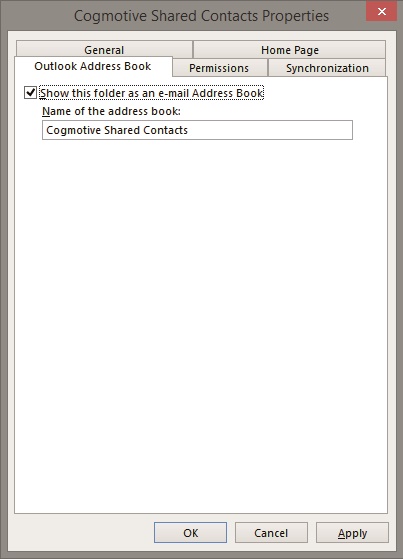 …where you can tick the option “Show this folder as an e-mail address book”, so that Outlook (and you mobile as well as webmail) will be able to display this list for you to search through.