
Get global
Imagine coming from an obscure mail system in which you got a couple of public folders, such as a Public Address Book (not to be confused with the GAL – Global Address List) or some public Agenda.
Basically, this could also be a non-obscure system, as even the most generic or widely-used mail systems provide this functionality.
Having heard so much about Office 365, you decide to take the leap towards the cloud and start migrating all you mailboxes, only to find no default out-of-the-box public folder.
Fear not, as the functionality is still there. Even though it was rumored Microsoft was going to stop support for public folders in an Exchange environment. User pressure caused M$ to re-evaluate their choice, thus public folders are here to stay (at least for 3 years minimum).
This also applies to Exchange Server 2016, by the way.
Howstuffworks.com
I’m going to assume you follow the necessary steps to set up a working O365 environment
In the admin menu
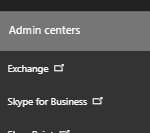
- Open the Admin > Exchange menu in your O365 admin page
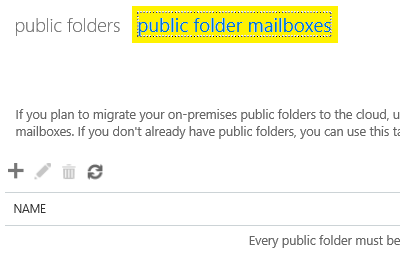
 Once inside the Exchange Control Panel, select ‘Public Folders’ in the leftmost menu or on the dashboard.
- A new menu will appear, where you are to select “Public Folder Mailbox” in the topmenu.
For some reason yet unknown to me, you have to create a public folder mailbox first before you can actually create a public folder.
One would expect this to have all of this process automated…
Oh well, best go with the flow.
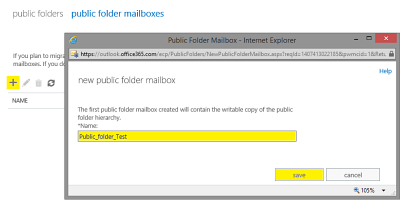 Click the little “Plus” icon and fill out the necessary info.
- Once this is done, you get to create the actual shared folder in that same top menu, by selecting *insert drum roll* “Public Folders”.
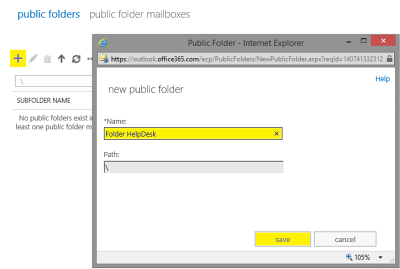 Click the little “Plus” icon in order to start creating your first Public Folder and name it as such.
 - Click save and *BOOM* your folder has been created.
Now you should be assigning user rights to this folder, as you’re not going to be admin’in this folder yourself as global admin for this O365 tenant.
Ideally leave the administration of public folders for contacts, agenda’s etc. to the end-customer as this is a specific task for a specific kind of manager.
 If you’re reading this as the IT guy/girl for a small company, you’re probably screwed and get to do this task yourself.
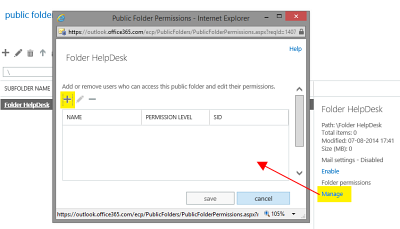
Click the newly created folder once so that the focus is on its name and next click on “Manage” in the right column. 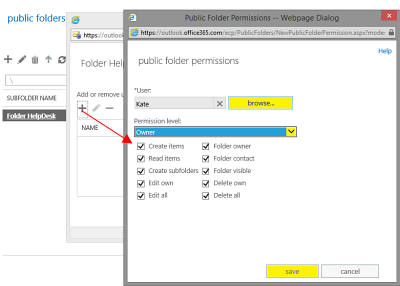 You can choose who you want to allow specific rights to this folder, by clicking the necessary rights ticks or selecting prefab permission levels in the dropdown menu.
Press “Save” when done.
Actually creating contacts
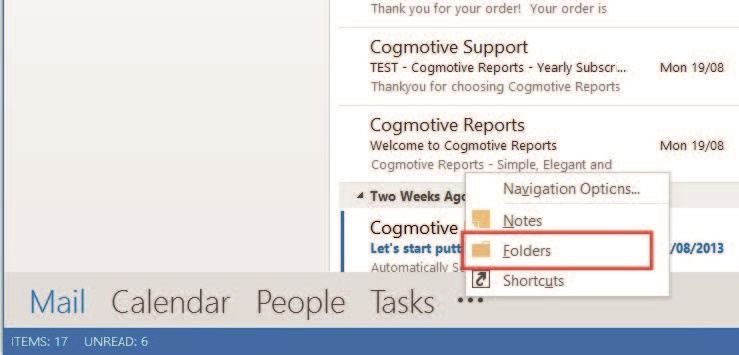
- Start by opening Outlook as a user that has owner rights (or sufficient rights to create folders) to your public folder and go to “Folder View” (that’s the three little dots in the bottom of your left column, in case you don’t have a 4K screen)
- Next, open the new public folder by expanding “All public folders” until you’ve reached your root folder (which should just be one click, normally)

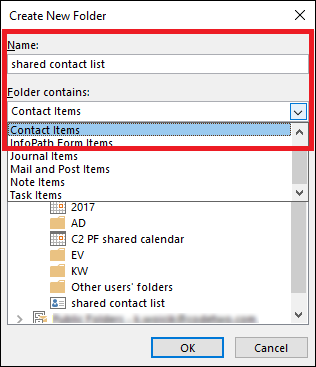
- Right click the root folder and select “New folder”, after which you give it an appropriate name and select “This folder contains Contact Items”
As you see, other options are available, such as a public agenda etc.
- We’ve already set the rights for admin, but as an owner, you can easily set other user’s rights afterwards through Outlook, instead of having to run over to your Exchange Control Panel as the global admin user.
In any case, you can right click your newly created folder, that will now have a Contact icon and select “Properties”
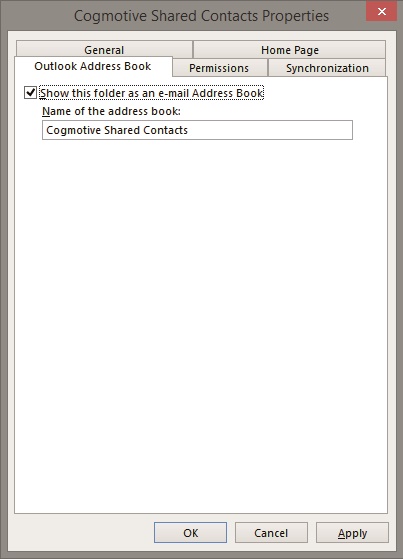 …where you can tick the option “Show this folder as an e-mail address book”, so that Outlook (and you mobile as well as webmail) will be able to display this list for you to search through.
Confirm with OK. - Clicking the “To” button in your Outlook, will now let you select your newly created address book.
Everybody happy !

- Now either import your PST file from the previous public contact list or start typing.
Good luck !
Many thanks to Peter from Kalmstrom.com for providing the necessary ‘missing links’ in my to-do list. I also shamelessly took the imagery from his website, as my own O365 30-day demo was expired ;).
In my defense, it looks like the Pakistani Rimza.com domain in the example is possibly not Peter’s domain either :p